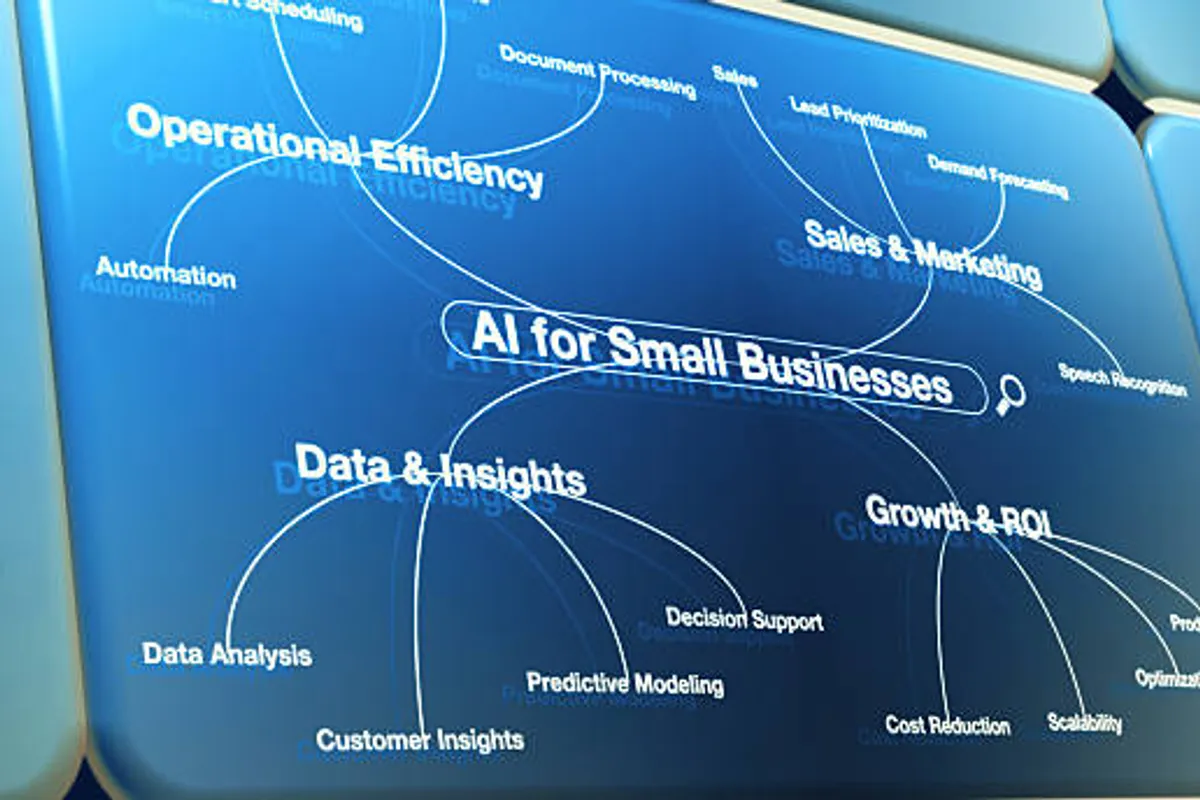
Artificial intelligence is no longer reserved for large tech companies. In 2026, individual developers and small teams are building powerful AI applications—from chatbots and content tools to automation systems—using accessible APIs and frameworks.
However, while tutorials are everywhere, many beginners struggle to move from theory to building a real, working AI application. The difference lies in following a practical, structured process that focuses on solving real problems rather than just experimenting with code.
This guide walks through a step-by-step, real-world approach to building your first AI app—from idea to deployment.
What is an AI App?
An AI application is software that uses machine learning models or AI APIs to perform tasks such as:
- Generating text or images
- Understanding user input (chatbots)
- Making predictions or recommendations
- Automating workflows
Most beginner-friendly AI apps today are built using pre-trained models via APIs, rather than training models from scratch.
Step-by-Step Guide to Building Your First AI App
Step 1: Choose a Simple, Real Problem
Avoid overcomplicating your first project. Focus on a clear, useful use case:
- AI content generator (blog titles, captions)
- Chatbot for customer support
- Resume or cover letter assistant
- AI-powered FAQ system
The best beginner projects solve a specific problem, not everything at once.
Step 2: Pick Your Tech Stack (Simple & Modern)
A beginner-friendly stack in 2026:
- Frontend: React or Next.js
- Backend: Node.js (Express) or serverless functions
- AI API: OpenAI API or similar
- Database (optional): MongoDB or PostgreSQL
- Hosting: Vercel, Netlify, or AWS
Keep it simple. Complexity is the biggest blocker for beginners.
Step 3: Set Up Your Development Environment
Install the essentials:
- Node.js
- Code editor (VS Code)
- Git for version control
Then create your project:
npx create-next-app ai-app
cd ai-app
npm install
This sets up your frontend and backend in one place if using Next.js.
Step 4: Connect to an AI API
Instead of building AI models from scratch, use APIs.
Example using OpenAI:
import OpenAI from "openai";

const client = new OpenAI({
  apiKey: process.env.OPENAI_API_KEY,
});

const response = await client.responses.create({
  model: "gpt-4.1-mini",
  input: "Generate 5 blog ideas about fitness",
});

console.log(response.output[0].content[0].text);
This is the core of your AI app—input → AI processing → output.
Step 5: Build a Simple User Interface
Create a basic UI where users can:
- Enter a prompt
- Click a button
- See results
Example flow:
- Input field → “Generate” button → Output box
Focus on:
- Clean layout
- Fast response
- Mobile-friendly design
Step 6: Add Backend Logic
Your backend handles:
- API calls
- Security (hide API keys)
- Processing user input
Example API route:
export default async function handler(req, res) {
  const { prompt } = req.body;

  const response = await client.responses.create({
    model: "gpt-4.1-mini",
    input: prompt,
  });

  res.json({ result: response.output[0].content[0].text });
}
Never expose your API key on the frontend.
Step 7: Improve the Output (This is Where Quality Comes In)
Most beginner apps fail here.
Instead of raw prompts, use structured prompts:
Bad:
“Write about fitness”
Better:
“Write a 300-word engaging blog intro about weight loss for beginners in a friendly tone”
Better prompts = better results = better user experience.
Step 8: Add Real Features (Make It Useful)
Turn your simple app into a real product:
- Save user history
- Add templates (e.g., “Blog Title Generator”)
- Include loading states and error handling
- Add authentication (optional)
This is what separates a project from a product.
Step 9: Test Your Application
Before launching:
- Test different inputs
- Check for errors or slow responses
- Ensure mobile responsiveness
- Validate API usage limits
A broken app = poor user trust (bad for AdSense too).
Step 10: Deploy Your AI App
Use modern deployment platforms:
- Vercel (best for Next.js)
- Netlify
- AWS (for advanced setups)
Deployment steps (Vercel):
npm install -g vercel
vercel
Your app is now live and accessible worldwide.
Real Beginner Project Example
AI Blog Title Generator
Features:
- Input topic
- Generate SEO-friendly titles
- Copy button
- Clean UI
This type of app is:
- Easy to build
- Useful
- Monetizable (ads or affiliate links)
Common Mistakes to Avoid
- Trying to build complex AI systems too early
- Ignoring UI/UX
- Not handling API errors
- Poor prompt design
- Skipping deployment
Keep it simple, functional, and useful.
How to Monetize Your AI App
Once your app is live, you can earn through:
- Google AdSense
- Affiliate links
- Subscription (premium features)
- API usage tiers
Even simple AI tools can generate income if they solve real problems.
Final Thoughts
Building your first AI app in 2026 is more accessible than ever—but success depends on execution, not just ideas. By focusing on a simple problem, using the right tools, and building step-by-step, beginners can launch real, working AI applications in days—not months.
The key is to start small, build consistently, and improve based on real usage. That’s how developers transition from learning to earning in the AI space.